- Mini MAME – Day 1 of 1,700
- Mini MAME – Build Start
- Mini MAME – Finalizing the Cabinet Body
In the garage...
Log of work completed 3/2/2013 - 6/30/2013
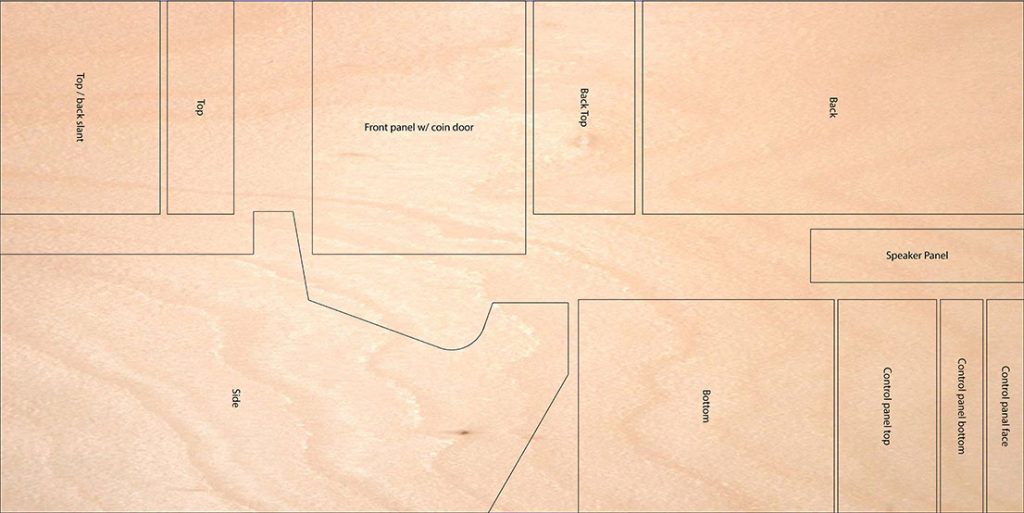
At this point we have all of the measurements and are ready to start turning this into actual panels. I used Adobe Illustrator to draw each cabinet panel, utilizing plywood as best we could. The main build of the cabinets required only 2 pieces of 3/4″ plywood, a standard 2″x4″ stud, and some trim boards.
I’ve provided a download link (zipped EPS and PDF formats) of our initial panel layout on a 4’x8′ sheet of plywood which fits all panels except for the second side panel. Use this only as rough guide, I cannot be sure of the accuracy and there may have been modifications we had to make during cutting and building. This also does not account for the monitor bezel which I’ll try cover in a future post.
Side Panels
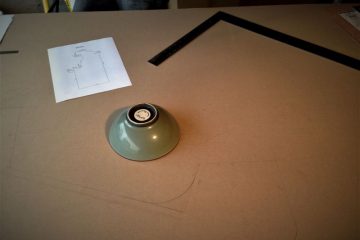
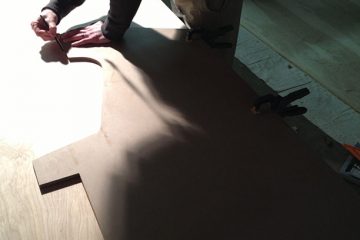
The side panels were the most critical piece to get right. We needed four identical side panels. To do this we carefully drew out the side panel measurements on a piece of MDF using t-squares, compass, a bowl that had the nice diameter, angle finder, etc. This MDF panel will be our router template.
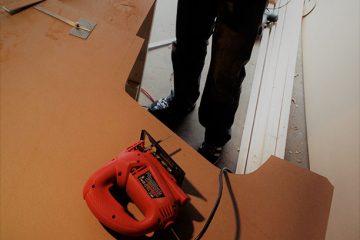
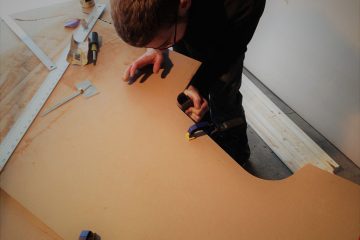
We cut the MDF using a jigsaw with straight edges as guides. After cutting the MDF template we sanded the edges to work out any imperfections then traced it on to the plywood sheets. The jigsaw was used again to rough cut the plywood about 1/2″ outside the template trace. We chose to use 3/4″ birch plywood for all panels.
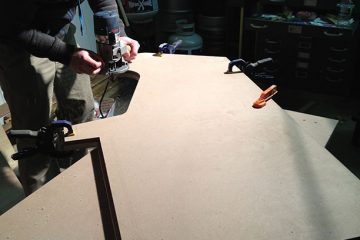
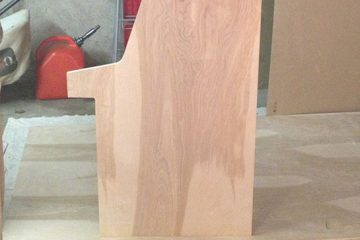
The MDF template and rough-cut plywood sides were clamped together one at time so we could use a flush trim router bit to finish the cut. This gave us four, nearly identical, side panels.
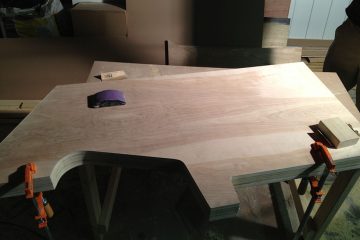
All four plywood side panels were clamped together and the edges were sanded by hand to ensure they were all flush.
Screw and Glue
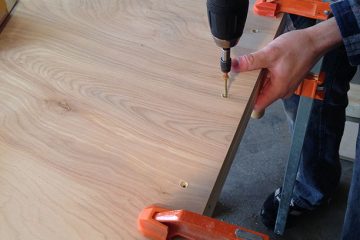
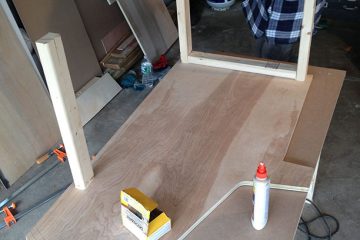
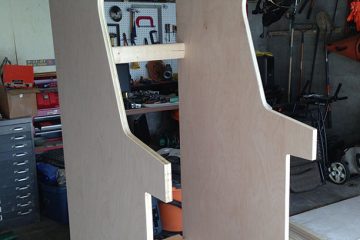
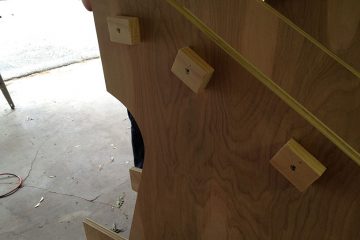
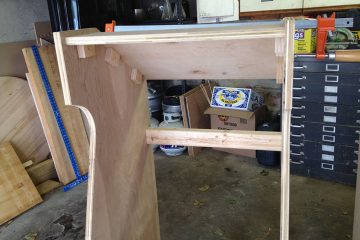
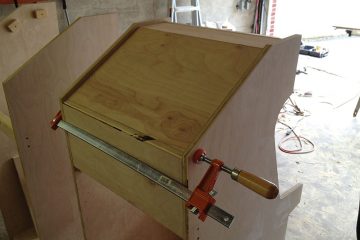
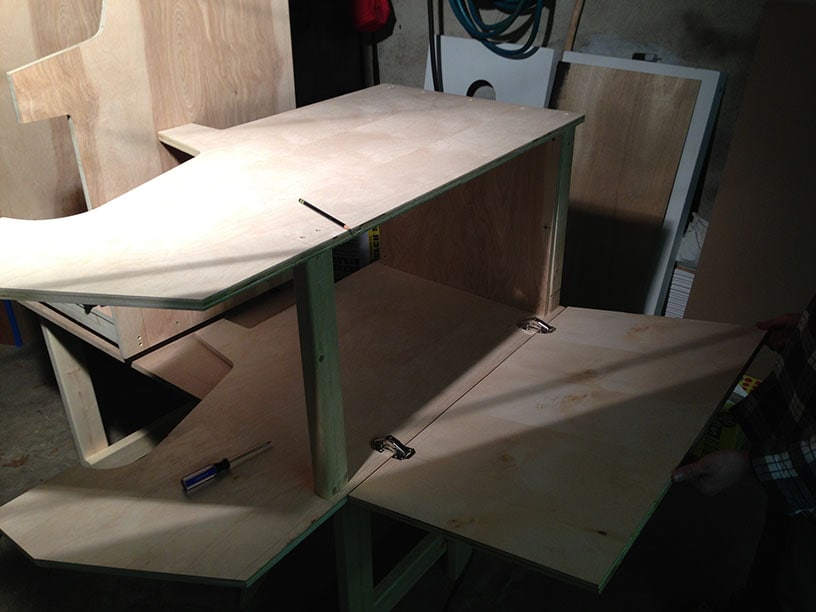
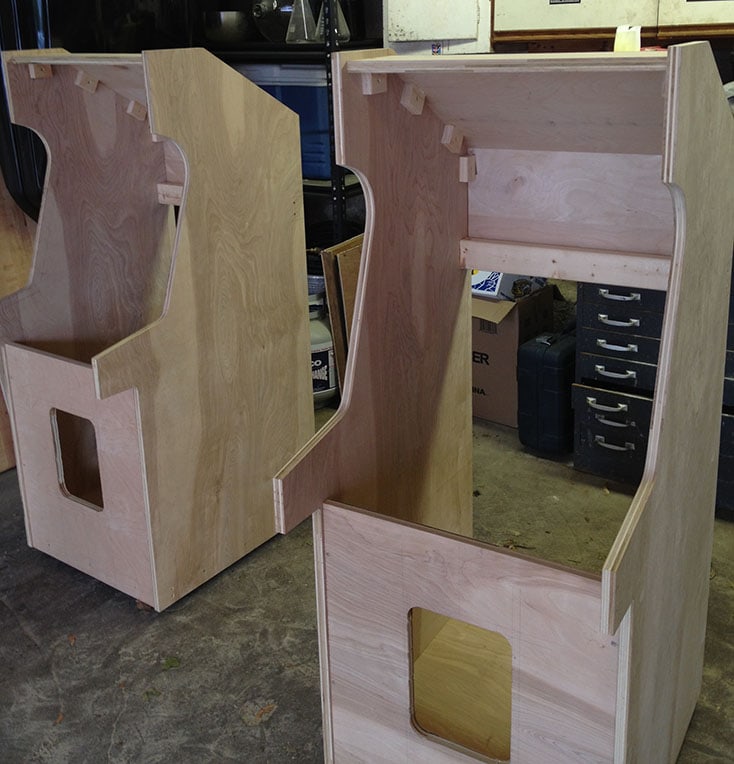
I don’t have a lot of details documented for how we pieced together the framework of the cabinet. The pictures should be self-explanatory. We used a standard 2×4 stud as the main supports holding the side panels together. Then some short pieces of 1.5″ finish boards as mounting points for the middle panels. Screws and glue on everything, clamping as needed. A few miter cuts on a misaligned table saw.
The rear hinged door does not make up the entire height of the back, having the top ~1/5 of the back as a solid screwed-in panel gave the cabinet a lot more structural integrity. We used 3 x cabinet hinges that didn’t need pocket cutouts (Laurey 9900 Easy-On Hinge). The back door needed to be trimmed down about 1/8″ on each side to give the proper clearance for the door panel to swing out. The hinges allow the door to close flush with the back of the cabinet. The rear door will have a cabinet lock installed.
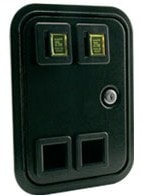
We chose a to use a small 2-slot coin door (CD-SM-BLANK from twistedquarter.com). The door is made for MAME cabinets and doesn’t have coin mechs. This will give us more room to access the inside through the coin door.
It was starting to look like an actual arcade cabinet after we had some panels mounted, coin door cut out, and it was standing up on its own. I don’t want to say this was the easy part, but it went pretty smooth.
